2.5 KiB
The All Seeing Pi (Part 2 - Software)
In this resource you will make a tweeting touch screen photo booth using a Raspberry Pi.
Test the buttons
- With the hardware set up, we can begin to program the software that will make everything work. To begin, open the file explorer, then right click on a blank space inside the file explorer window.

- Select
Create newand then clickFolder

-
Type in the name of the folder where you will store the code and the photographs. We chose to call ours
allseeingpi. Make a note of the path to this folder which is displayed in the bar at the top, which should be/home/pi/allseeingpi -
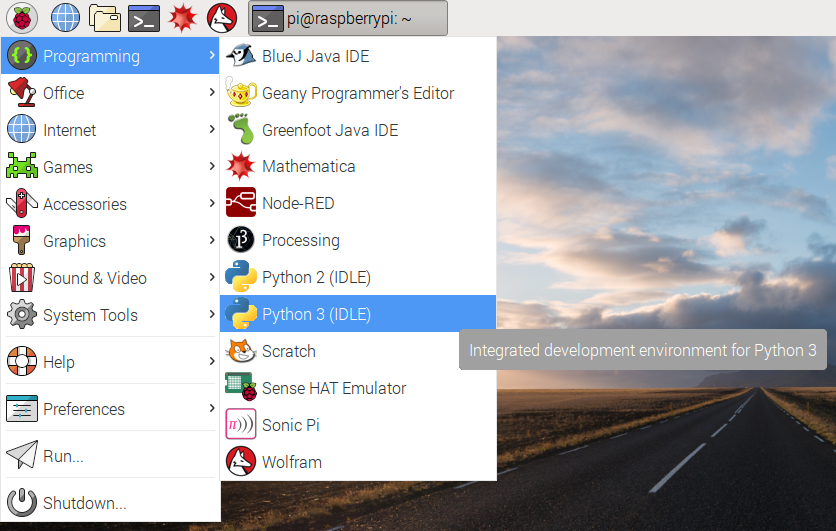
From the "Programming" menu, open up "Python 3"
-
Create a new Python file by clicking on
File>New File. -
Click on
File>Saveand save your file into theallseeingpifolder you just created, with the filenameallseeingpi.py. -
We will need the
picameraand thegpiozerolibraries. At the start of your Python file add two import statements:
from picamera import PiCamera
from gpiozero import Button
- Next we will set up the buttons. On the previous worksheet we wired our buttons to pins 23 and 25. Let's go ahead and set both buttons up, even though we will not use the
next_overlay_btnuntil later on.
next_overlay_btn = Button(23)
take_pic_btn = Button(25)
- Now we will use gpiozero to tell the buttons what to do when pressed. In the code below,
next_overlayandtake_pictureare functions which will be called when the corresponding button is pressed:
  next_overlay_btn.when_pressed = next_overlay
  take_pic_btn.when_pressed = take_picture
- We need to write these two functions so that the buttons have something to do when they are pressed. Functions are usually written at the start of a program immediately after the
importstatements. Add the functions, but with some placeholder code to just print a message when they are pressed, so we can test them.
def next_overlay():
  print("Next overlay")

def take_picture():
  print("Take a picture")
-
Press
F5, save and run your program. Try pressing each button and check that a different message pops up for each in the Python shell.